I love the clean lines of this main room, but it felt like it was missing some pizzazz. Specifically, I wanted a mantle that would tie the dining room and living room together and create a meeting space for the whole family. 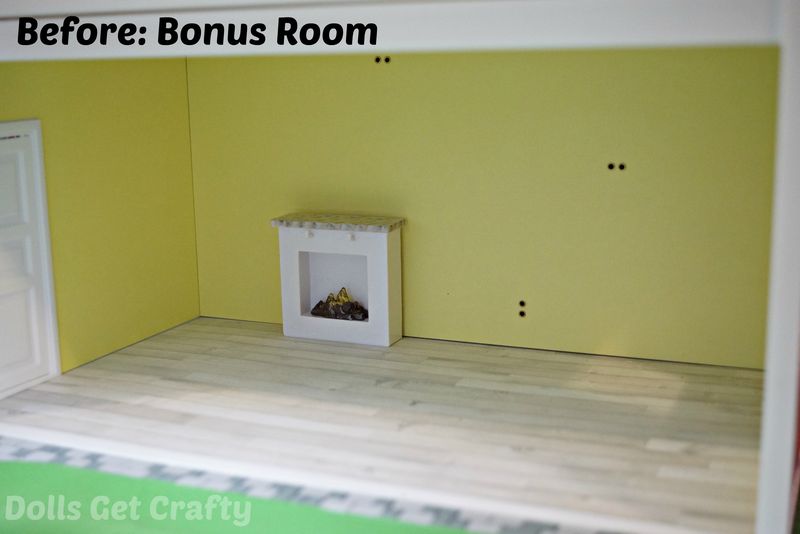 A little paint, a piece of masonry found at Tinkertopia in Tacoma, Wa {check hardware stores for similar pieces. They are typically pretty cheap and you can buy them by the single tile}, some glue, and a small piece of wooden trim was all I needed to completely transform the room.
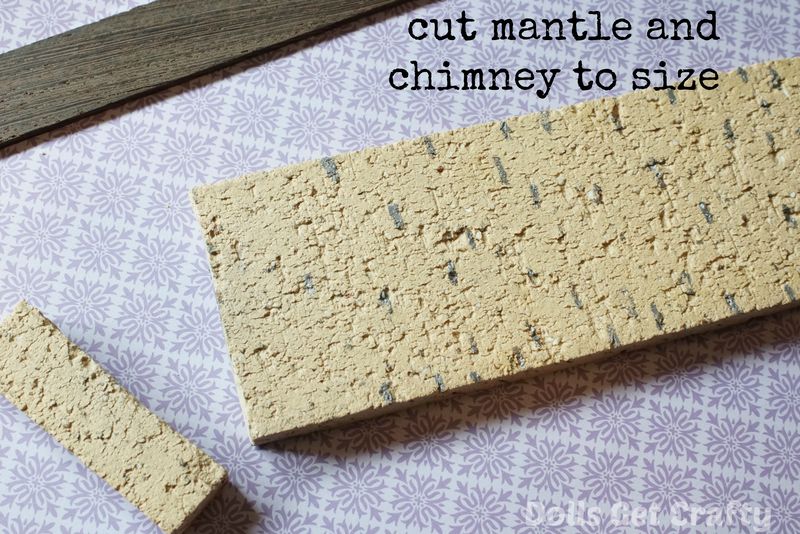
 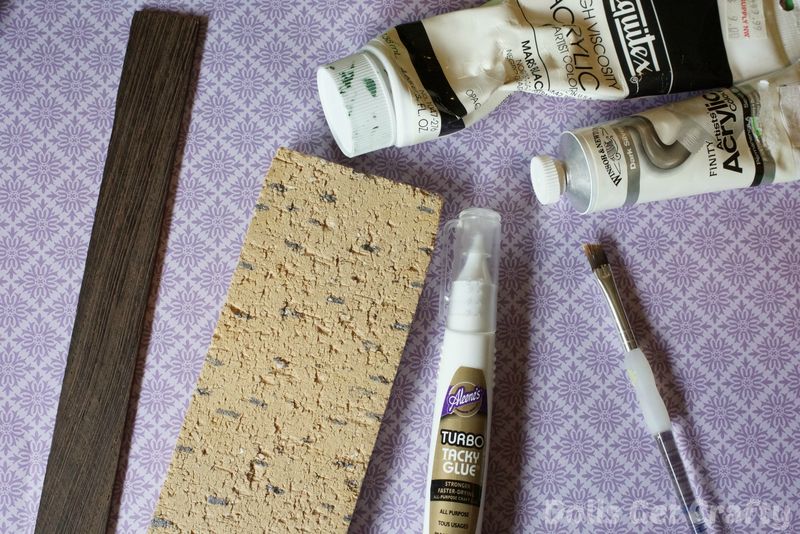 First, I needed the masonry tile and the wood trim cut. A little persuading and I got my dad to cut it to size for me.
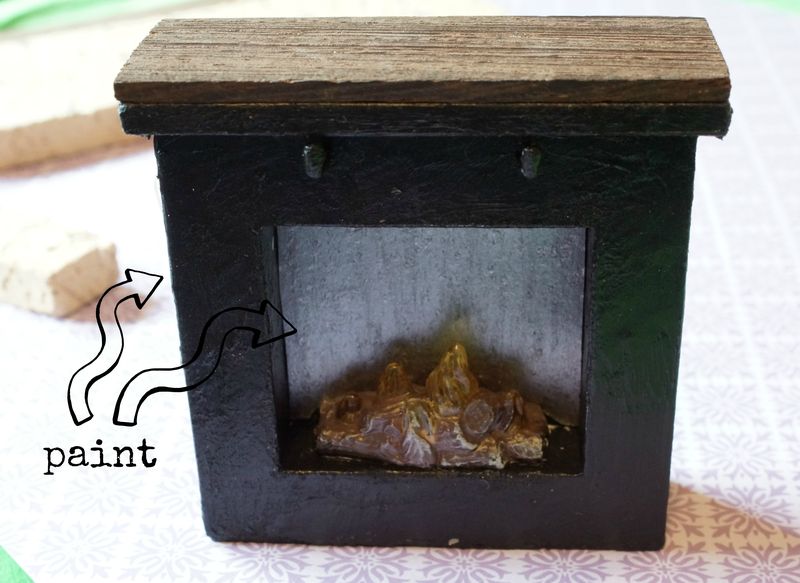
  While he was cutting, I was painting the existing fireplace from the Smaland Fireplace set, and then I glued on the wood trim on the top of the mantle. I thought about sanding the stocking hooks off the front, but decided that they would come in handy during the holidays so I left them be for now.
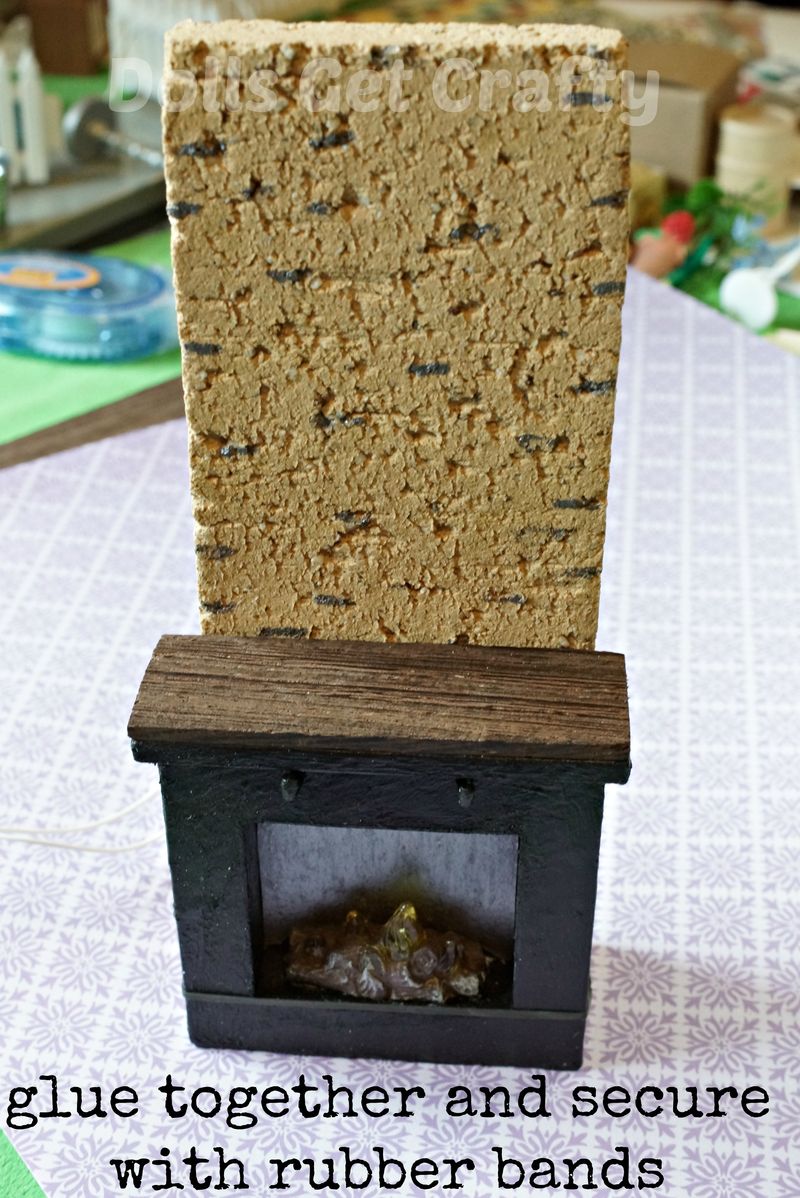
 Once the paint and glue was dry, I attached the chimney to the fireplace and secured with rubber bands until it dried fully.
 Once fully dry, you can glue into the house. I had just finished wallpapering the main room and was nervous about something as permanent as glue, so I went with glue dots and it has held beautifully. Doesn't this look awesome?
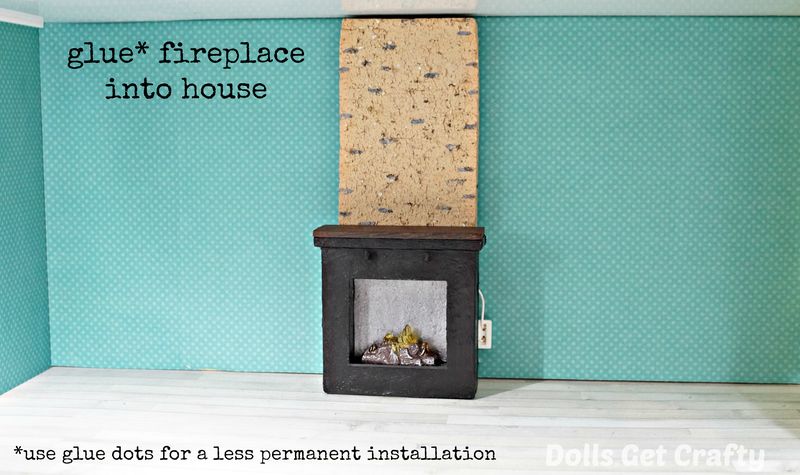 Once I figured out how well glue dots work, I've been using them for just about everything. They come in different sizes so I've bought a half dozen boxes of these bad boys in the past month to use on our Lundby remodel. Keep in mind they do add a little bit of depth so you can't use them for really small items, but for big stuff like chimneys they really rock.
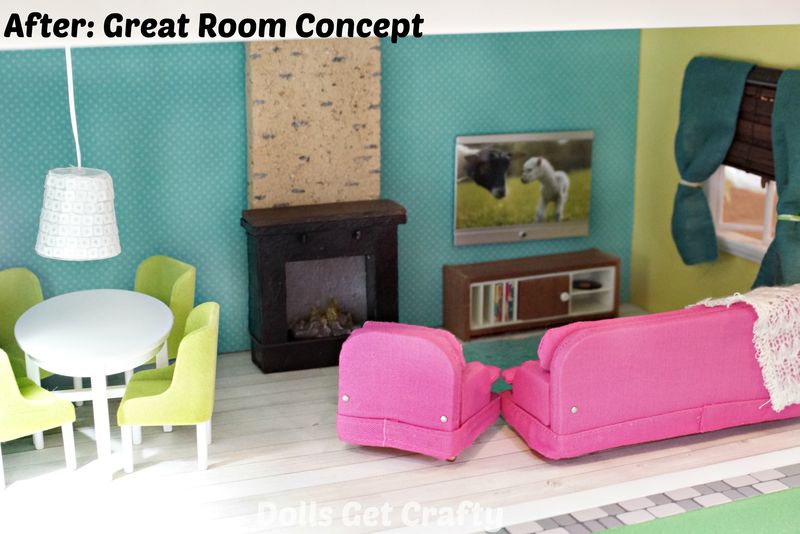
So, what do you think? It was a quick DIY, but it really brought the room together and created the heart of the Lundby house. Up next: mantle decorations to really make it feel like home.
To buy: Smaland Fireplace Set placed in Lundby Extension Floor
Also pictured: Smaland Dining Room Set, Smaland Sitting Room {Pink}, vintage Lundby record player cabinet, and TV from Smaland TV Set.